
Part 1 of 3: Building Your First MCP Server and Client#
This is the first article in a three-part series that will take you from MCP basics to production-ready distributed systems. This article is based on my research into MCP architecture using Anthropic’s documentation. While I wrote the initial draft, I had Claude Sonnet 4 help polish the final version—because why not use AI to write about AI tools?
Coming Up in This Series:
- Part 1 (this article): Building your first MCP server and client with stdio transport
- Part 2: Distributed MCP architecture for production environments
- Part 3: Advanced patterns, security, and scaling MCP in enterprise applications
What Is MCP and Why Does It Matter?#
The Model Context Protocol (MCP) is an open standard developed by Anthropic in late 2024 that solves a fundamental problem in AI development: how to connect AI models to external tools reliably and consistently.
Before MCP, every time you wanted your AI agent to access a database, call an API, or interact with a file system, you had to build custom integrations from scratch. This approach was time-consuming, fragile, and impossible to scale across different AI models and platforms.
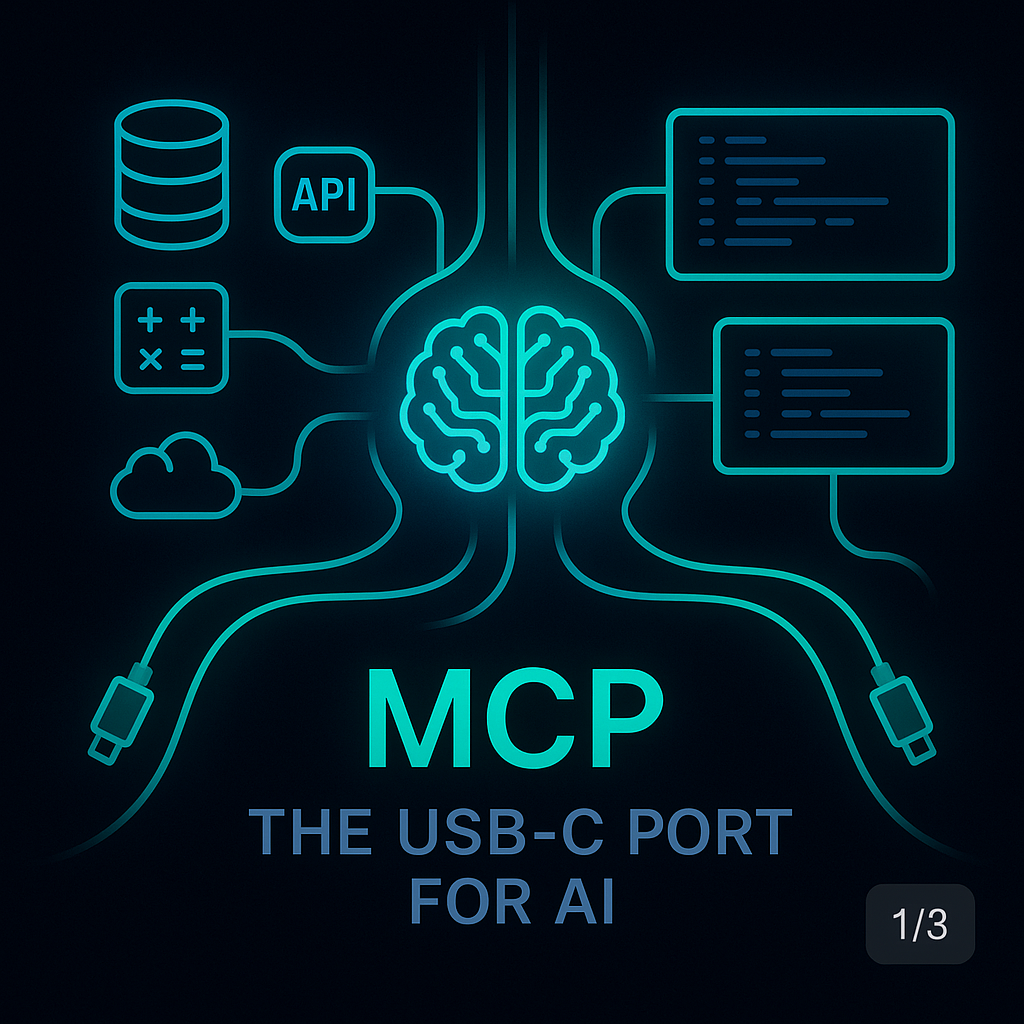
MCP changes this by providing a universal framework—think of it as the “USB-C port for AI”—that allows any tool or service to connect to any AI agent that supports the protocol.
The adoption has been swift and decisive. OpenAI added MCP support to its Agents SDK and ChatGPT Desktop in early 2025. Google DeepMind and other major AI labs have followed suit. This isn’t a passing trend; it’s becoming the backbone of modern AI integrations.
Understanding the MCP Architecture: Host, Client, and Server#
To work effectively with MCP, you must understand its three-component architecture. Each component has a distinct role, and their interaction forms the foundation of how AI agents connect to external tools.
The Host#
The host is the main application where AI models run and coordinate with external tools. Think of it as mission control for your AI operations. Examples include ChatGPT Desktop, Claude Desktop, or custom agent frameworks you build yourself.
The host’s responsibilities are straightforward: manage connections to different tools, ensure secure communication, and orchestrate the flow of information between the AI model and external services. When you interact with an AI assistant that can search the web, access your calendar, or query a database, you’re working with a host application.
The Client#
The client acts as a bridge between the host and external servers. Each client manages exactly one connection to one MCP server, maintaining isolation between different tools and services.
The client’s job is simple but critical: translate requests from the host into the proper MCP format, send them to the appropriate server, and relay responses back to the host. This isolation ensures that tools don’t interfere with each other and provides a clean abstraction layer for the host.
The Server#
The server is the external tool or service that provides specific capabilities to the AI agent. When you build an MCP server in Python, you’re creating one of these external tools.
A server might provide access to a database, offer mathematical computation functions, control smart devices, or serve weather data. Servers can run locally on your machine or remotely over the internet. They expose their capabilities through three primary primitives: tools (executable functions), resources (data entities), and prompts (reusable interaction templates).
How MCP Communication Works#
MCP uses JSON-RPC 2.0 for communication—a lightweight, stateless protocol that ensures consistent messaging between components. The interaction follows a predictable pattern:
Tool Discovery: The agent queries the server to learn what tools are available, including their names, descriptions, and required parameters.
Tool Invocation: When the agent needs a specific capability, it sends a request specifying the tool name and providing the necessary arguments.
Result Processing: The server executes the tool and returns results, which the agent incorporates into its response or further processing.
This standardized approach means that once you understand MCP, you can work with any MCP-compatible tool or service without learning new integration patterns.
Building Your First MCP Server#
Creating an MCP server requires surprisingly little code. The official Python SDK abstracts away protocol complexities, letting you focus on your server’s core functionality.
Here’s a complete working example that demonstrates all three MCP primitives:
from mcp.server.fastmcp import FastMCP

mcp = FastMCP(
    name="My Server",
    description="A simple MCP server with a multiplication tool, a health resource, and a welcome prompt."
)

# Define a tool: executable function
@mcp.tool()
def mul(left: int, right: int) -> int:
    """Return the product of left and right."""
    return left * right

# Define a resource: data entity
@mcp.resource("resource://health", description="Returns the current health status of the server.")
def health_status() -> str:
    """Returns the current health status of the server."""
    return "Server is healthy"

# Define a prompt: interaction template
@mcp.prompt()
def welcome_user(username: str) -> str:
    """Generate a personalized welcome message for the given username."""
    return f"Welcome, {username}! We're glad to have you here."

if __name__ == "__main__":
    mcp.run(transport="stdio")
This server exposes three capabilities:
- A multiplication tool that computes the product of two numbers
- A health resource that reports server status
- A welcome prompt that generates personalized greetings
Creating a Client to Interact with Your Server#
To interact with your MCP server, you need a client. The client establishes communication, discovers available capabilities, and makes requests.
Important Note: The following example uses stdio transport, which means both client and server run on the same machine. This is perfect for development and testing, but it’s essentially “mickey mouse code” for learning purposes. In production environments, you’ll typically want distributed client-server architecture over networks.
Here’s a complete client implementation for development use:
import asyncio
from mcp import ClientSession, StdioServerParameters
from mcp.client.stdio import stdio_client

async def main():
    # Define how to start the server
    server_params = StdioServerParameters(
        command="python",
        args=["mcp_server.py"]
    )

    # Establish connection to server
    async with stdio_client(server_params) as (read, write):
        async with ClientSession(read, write) as session:
            # Initialize the connection
            await session.initialize()

            # Call the multiplication tool
            result_tool = await session.call_tool("mul", {"left": 6, "right": 7})
            print(f"Result of multiply tool: {result_tool.content[0].text}")

            # Read the health resource
            result_resource = await session.read_resource("resource://health")
            print("Health status:", result_resource.contents[0].text)

            # Generate a welcome prompt
            user = "Alice"
            result_prompt = await session.get_prompt("welcome_user", {"username": user})
            print(f"Welcome message: {result_prompt.messages[0].content.text}")

if __name__ == "__main__":
    asyncio.run(main())
Identifying Host, Client, and Server in Our Example#
Now let’s map the abstract concepts to our concrete code:
The Server is mcp_server.py:
# This is the SERVER - it provides tools, resources, and prompts
mcp = FastMCP(name="My Server", ...)
@mcp.tool()
def mul(left: int, right: int) -> int:  # Server exposes this tool
The Client is the main.py script:
# This is the CLIENT - it connects to and communicates with the server
async with stdio_client(server_params) as (read, write):
    async with ClientSession(read, write) as session:
        result_tool = await session.call_tool("mul", ...)  # Client calls server
The Host is implicit in our example—it would be the larger AI application that uses this client code. In a real-world scenario, the host might be ChatGPT Desktop or Claude Desktop that incorporates our client logic to interact with the server.
What Happens When You Run This Example#
When you execute the client script, you can see the three-component architecture in action:
- Server Launch: The client (
main.py) starts the MCP server (mcp_server.py) as a subprocess - Connection Establishment: The client and server perform a handshake to establish communication
- Tool Execution: The client calls the server’s multiplication tool with arguments 6 and 7, receiving the result 42
- Resource Access: The client reads the server’s health resource, getting the status “Server is healthy”
- Prompt Generation: The client requests a welcome message from the server for “Alice”
The output demonstrates the client successfully communicating with the server:
Result of multiply tool: 42
Health status: Server is healthy
Welcome message: Welcome, Alice! We're glad to have you here.
Transport Mechanisms: Development vs Production#
MCP supports different transport mechanisms for different use cases:
stdio (Standard Input/Output): Use this for local development, testing, and learning. As demonstrated in our example, the server runs as a subprocess on the same machine, communicating through standard streams. This is ideal for development but limited to single-machine scenarios.
SSE (Server-Sent Events): Use this for web applications or when you need network access. Simply change transport="stdio" to transport="sse" in your server code for basic network connectivity.
Note: Our stdio example above is intentionally simple for educational purposes. In Part 2 of this series (coming soon), I’ll cover distributed client-server architectures that work across networks and in production environments. Stay tuned!
Why You Should Start Learning MCP Now#
MCP represents a fundamental shift in how AI applications connect to external tools. The protocol’s adoption by major AI labs signals its long-term importance. Learning MCP now positions you to:
- Build more capable AI applications that can interact with real-world systems
- Future-proof your development skills as AI integrations become ubiquitous
- Stand out in a competitive field by understanding emerging standards
Getting Started#
Install the MCP Python SDK:
pip install "mcp[cli]"
Save the server code as mcp_server.py and the client code as main.py. Run the client:
python main.py
That’s it. You now have a working MCP implementation that demonstrates the core concepts and architecture.
What’s Next: The Road to Production#
This article gave you the foundation—a working MCP server and client using stdio transport. You now understand the three-component architecture and can build basic integrations.
In Part 2 (publishing in the next few days), we’ll move beyond this educational example to production-ready distributed systems. I’ll show you how to:
- Deploy MCP servers across networks using SSE and HTTP transports
- Handle authentication and security in distributed environments
- Scale MCP architectures for real-world applications
- Integrate MCP with existing enterprise systems
In Part 3, we’ll explore advanced patterns including error handling, monitoring, and best practices for maintaining MCP systems at scale.
Start experimenting with MCP today using the code examples above. The future of AI development is being written now, and understanding protocols like MCP will determine whether you’re a participant or a spectator in that future.
Found this helpful? Follow me for Parts 2 and 3, and let me know in the comments what MCP use cases you’re most excited to explore.